
Creating Automated Workflows
Workflow definitions are first set up by those with appropriate security access, such as an Administrator.
This is covered in Creating Automated Workflow Definitions.
Once created, these Automated Workflow Definitions can be accessed by the user, or processed by the system.
Team Workflows
If you are a team supervisor, any Automated Workflows that have been created for, or by, members of your team are displayed within My Team > Team Workflows.
In this area you are also able to create Automated Workflow requests for your team, if you have the appropriate security and permission settings.
The following instructions describe how to create a Training Request workflow.
This example uses the same format that is used for all the other Automated Workflow types (for user-initiated requests).
- In My Team > Team Workflows with the Status set to Submitted select the appropriate Workflow name from the drop down.
These are the Automated Workflow Definitions created previously. - In Employee select the required employee name. Once a name is displayed, the Add Request button is activated.

- Click Add Request button to open the blank Workflow screen.
- Fill in the appropriate fields
- Complete the Start Date and Finish Date, either type in the dates using format dd/mm/yyyy, or use the drop-down arrows to select the dates from the displayed calendar.
The Start Time and Finish Time can be typed in, or you can use the up/down arrows to select a time or type in the time using format HH:MM.
Ensure that you have specified AM or PM correctly- note that this does not use 24-hour clock format. - To optionally add an attachment, in the Attachments section click Browse and locate the relevant attachment.
If additional attachments are to be added click the Add button below the Browse bar, to display another Browse bar for another attachment.
If adding a website address for this record, it can be pasted in the Notes (requester) box, within the Training Request section. - If all the details are correct/complete Submit the request.
This will send the request to the relevant approver(s.)
Alternatively, you may click Save, so that the details can be edited later, before submitting the request.
Note that team supervisors are able to add workflow requests for themselves and members of their team.
However, a Performance Review Workflow must be created by the team leader.
Users cannot create their own Performance Review.
My Workflows
In Employee Details > My Workflows depending on permissions, a user is able to add or view Automated Workflows for themselves only.
All the options here follow the same format as described previously.
Employee HR Details
Automated Workflow types may also be available for an employee to create depending on permissions via the Employee HR Details menu; Training, Skills, Eventsor Property.
To add a request select the appropriate Automated Workflow from the drop-down box and select Add Request:
To view submittedor Cancelled Automated Workflows for each Employee HR item, select the HR item’s Requests tab:
Alternatively, depending on permissions, view in My Team > Team Workflows or, for your own workflows only, view in Employee Details > My Workflows.
Editing Automated Workflow Details
Once an Automated Workflow has been created (whether or not it has been approved) it can be edited via these locations:
My Team > Team Workflows
Employee Details > My Workflows
Or within the associated menu option:
Employee HR Details > Training/Skills/Events/Property
Once the Automated Workflow is completed and the record is written into the appropriate page e.g. Employee HR Details > Training.
Further fields may need to be completed as Automated Workflows do not necessarily contain all fields.
Navigate to the relevant page, click the Edit icon and enter any further details required.
See Employee HR Details for further information on completing the fields within these menu options
Once an Automated Workflow Request has been Approved, it moves from being in a Workflow process, and becomes an entry on the associated table within Employee Self-Service Kioskif configured to write to the database upon final approval.
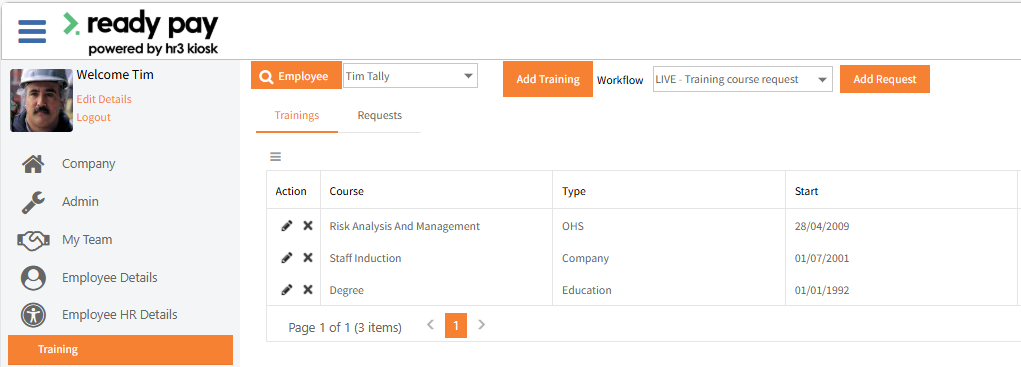
For example, once an Automated Workflow Request for a Training course has been Approved, it becomes an entry on the Trainings tab in the Employee HR Details > Training menu in Employee Self-Service Kiosk.
Cancelling Automated Workflows
Prior to Submitting
If an employee creates and saves a workflow, it will appear in Employee Details | My Workflows for that employee.
The workflow does not appear anywhere else, for the employee or for the approver.
This employee is the only person who can cancel the workflow: open the workflow and click Cancel.
If an approver (e.g. the employee's supervisor) creates and saves a workflow, it will appear in My Team > Team Workflows for that employee.
The associated employee will not be able to see the workflow in Employee Details > My Workflows.
The approver is the only person who can cancel the workflow by editing the workflow and selecting Cancel.
Prior to Approval
Once the workflow has been submitted, it will appear in Employee Details > My Workflows for that employee.
The approver will see it in My Team > Team Workflows for that employee.
The employee and the approver are able to cancel the workflow, via their relevant locations by editing the workflow and clicking Cancel.
Following Approval
Once the workflow has been approved, it will appear in Employee Details > My Workflows > Status: Approved for the employee.
The approver will see it in My Team > Team Workflows > Status: Approved for that employee.
It is no longer possible to cancel the workflow.
Return to Automated Workflows
View Employee Self-Service Kiosk Access and Security